reading time: 6 min
Confession time. I've never had my nails professionally done, and to be honest, I neglect my finger nails and toe nails way too often! Not only is looking after our nails an important part of physical self care, but also – our hands are one of the most important features, our business card, so to speak.
I don't have picture-perfect hands and nails (my nails are rather short and wide and they break easily), but it makes a huge difference when I take care of my nails, making them looked "polished" even without polish. During the winter months especially when our skin is exposed to cold temperatures and wind, or when we are frequently washing our hands and using sanitizer, our hands tend to look a bit cracked and dry.
But the good news is that you can easily do a manicure at home! My 7-step at-home manicure that I am about to share with you is great to soothe the skin, clean up your nails, and make you feel more groomed overall.
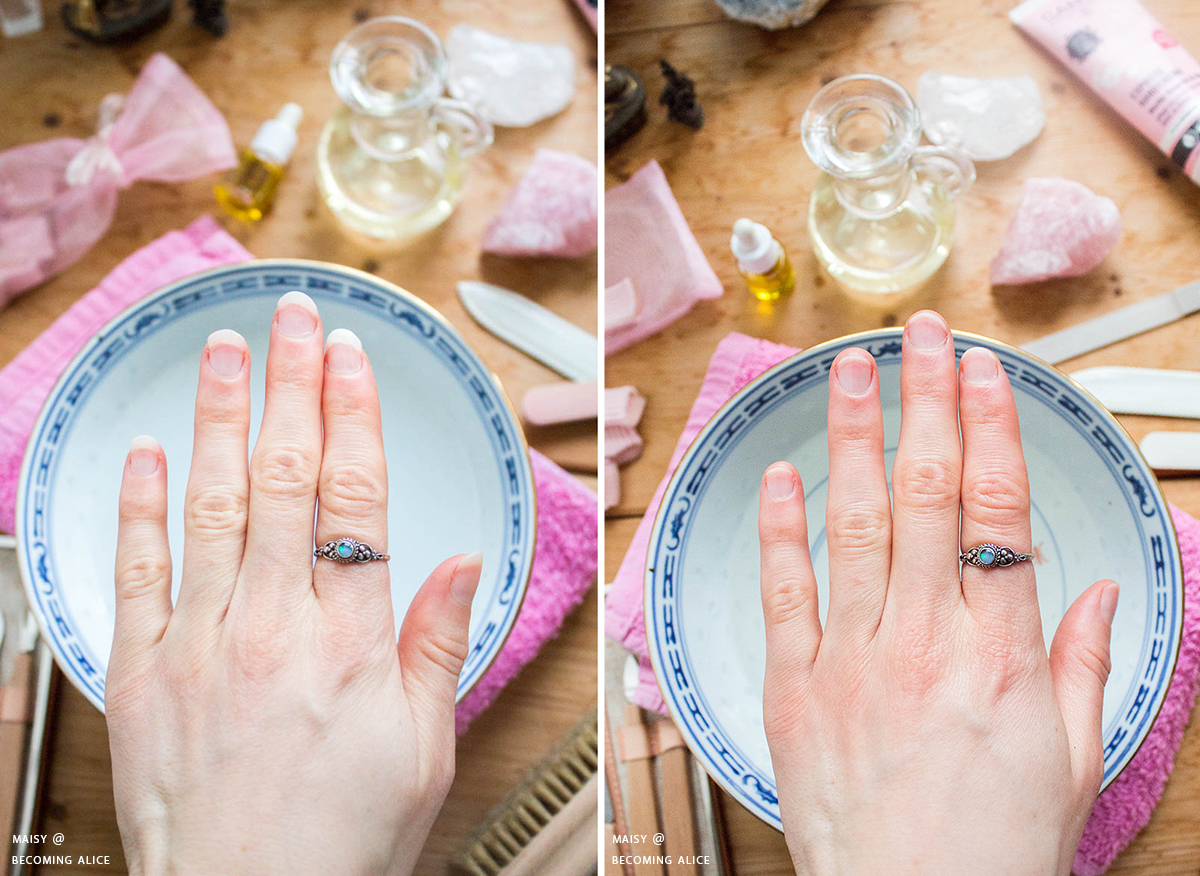
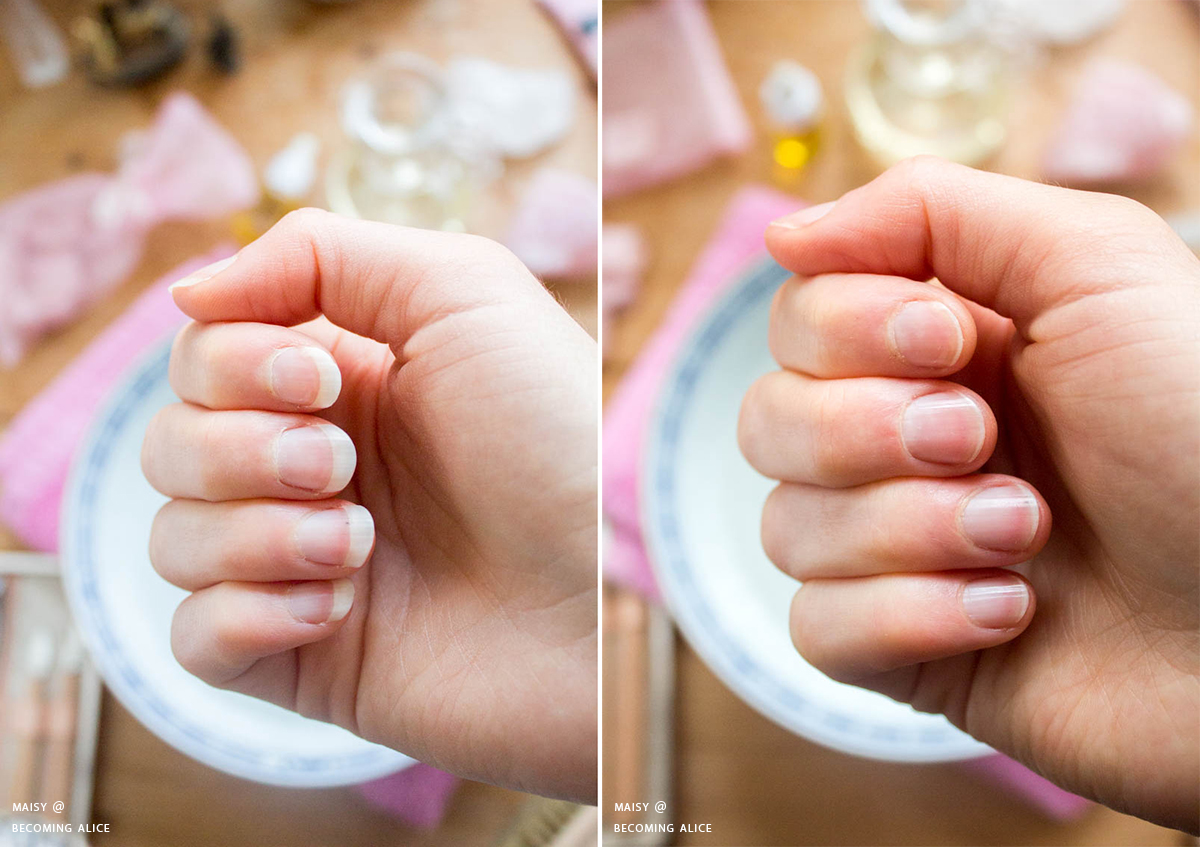
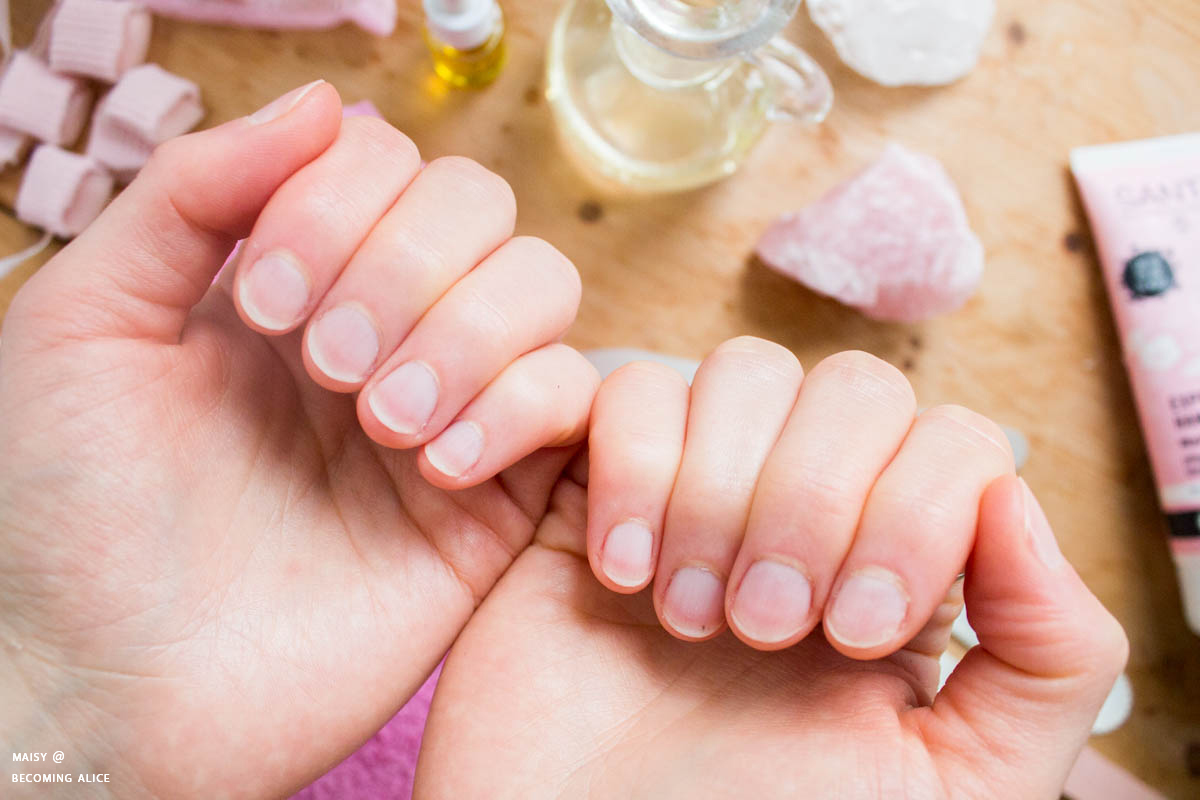
Here's a quick before-and-after of my nails, from ragged and uneven to clean and tidy:
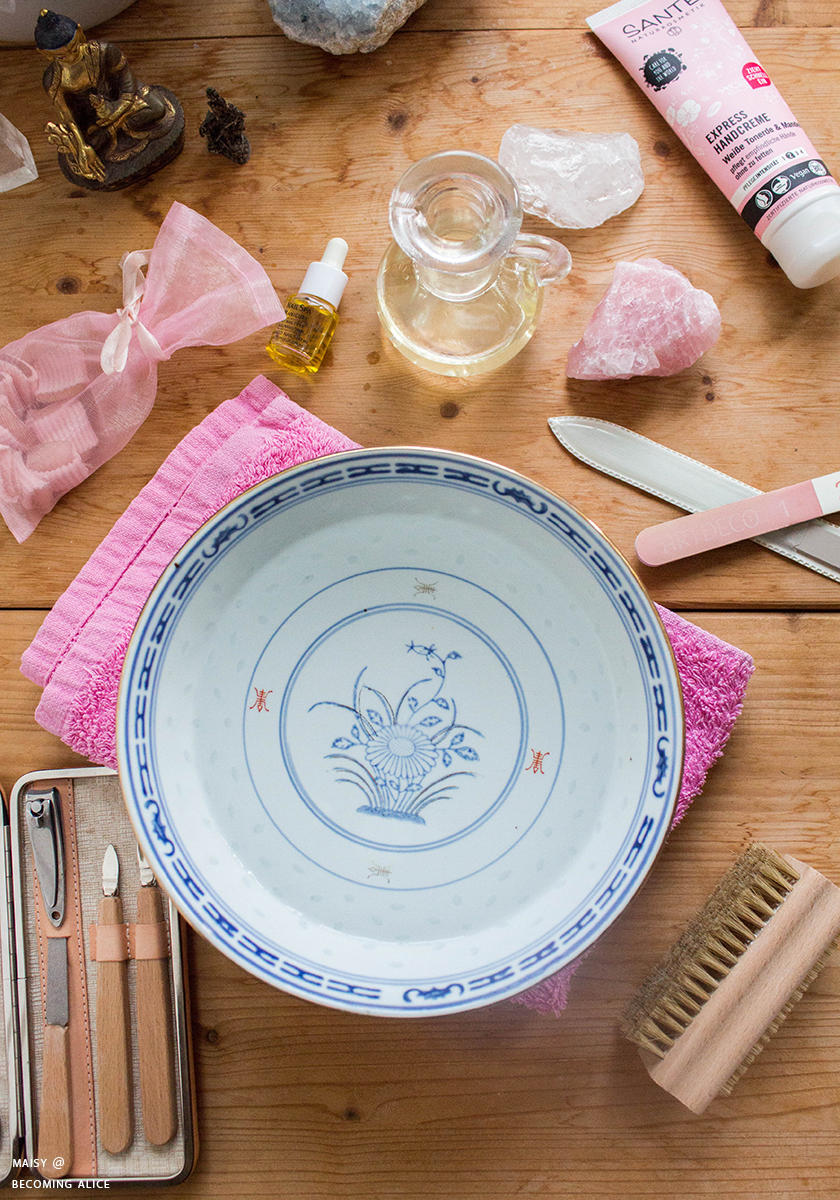
You Will Need:
nail clippers
nail file (I recommend a glass file)
small bowl
small towel
cuticle pusher
cuticle oil or body oil (e. g. jojoba oil, almond oil, olive oil)
hand lotion
body scrub
optional: nail polish remover and cotton pads
optional: nail buffer
nail file (I recommend a glass file)
small bowl
small towel
cuticle pusher
cuticle oil or body oil (e. g. jojoba oil, almond oil, olive oil)
hand lotion
body scrub
optional: nail polish remover and cotton pads
optional: nail buffer
1. Remove Old Nail Polish
If your nails aren't clean already, start by taking off any previously applied nail polish. Even if you don't have polish on, you'll still want to wash your hands with soap and water to get rid of any oils or dirt.
Speaking of soap, I recommend using a gentle natural hand soap such as the Dr. Bronner's castile soap, or an organic soap bar to prevent your skin from drying and itching.
Speaking of soap, I recommend using a gentle natural hand soap such as the Dr. Bronner's castile soap, or an organic soap bar to prevent your skin from drying and itching.

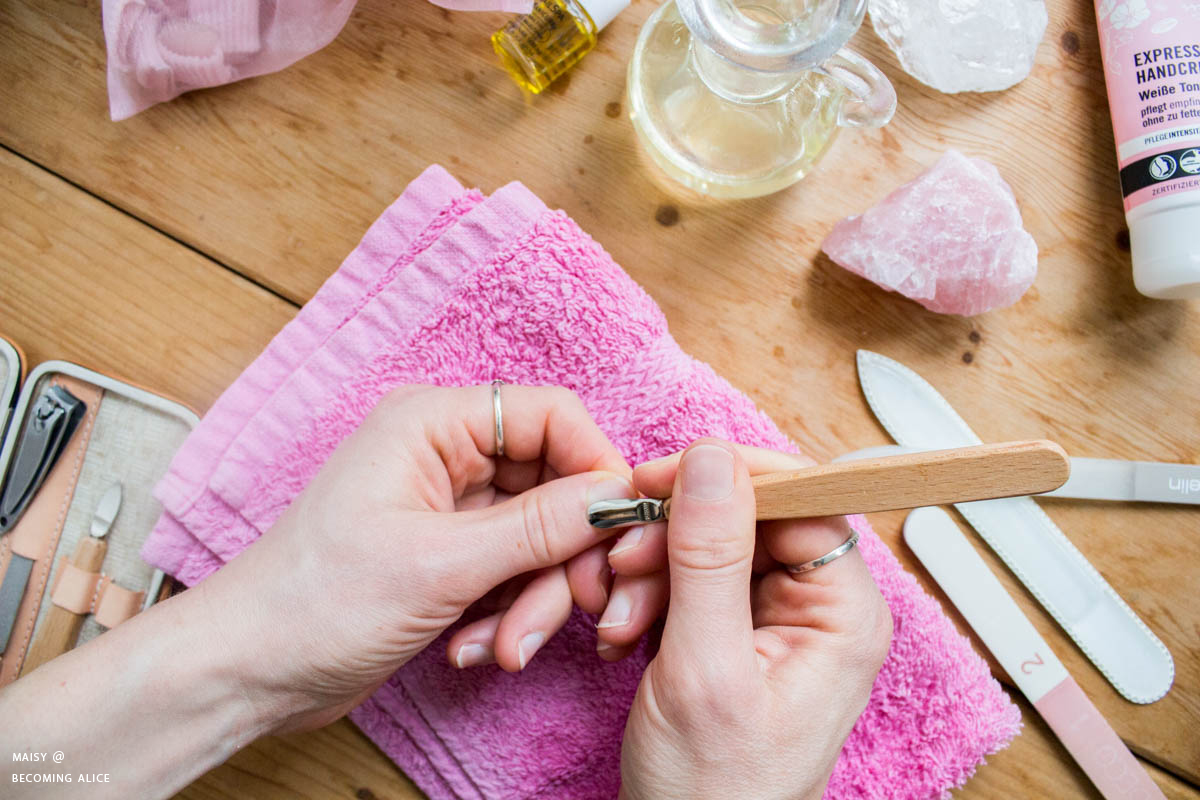
2. Trim Nails and Remove Hangnails
Cut back your nails using nail clippers, leaving them just a tad longer than you want them to be. (If your nails are not super long, you can actually skip this step, and just file them instead!)
Next remove any hangnails around the sides of the nail, being careful not to cut into the nail itself or to cut into the skin too deeply. Some people recommend cutting away the thickened skin around the nail as well, but I personally find it leaves my fingers looking frayed rather than tidy.
Next remove any hangnails around the sides of the nail, being careful not to cut into the nail itself or to cut into the skin too deeply. Some people recommend cutting away the thickened skin around the nail as well, but I personally find it leaves my fingers looking frayed rather than tidy.


3. File and Shape Nails
Now that your nails are trimmed to about your desired length, use a nail file to shape them and also round out the sharp edges from clipping your nails – otherwise they might break or split. I recommend using a glass or crystal file as it minimizes splintering and leaves the edges of your nails incredibly smooth. The best way to file your nails is by filing in one direction, instead of going back and forth – this helps to stop nails from breaking as quickly. For example, I always file counter-clockwise, and never the other way around.
Personally I find that a slightly rounded nail shape looks clean, and it also prevents my nails from breaking, as the hard corners of a square edge often do.
This step is optional, but you can also polish your nails in a back and forth motion using a buffing block or buffing file. This will remove any ridges and gives your nails a nice smooth shine that can act as a natural nail polish replacement. Skip this step if you have thin nails.
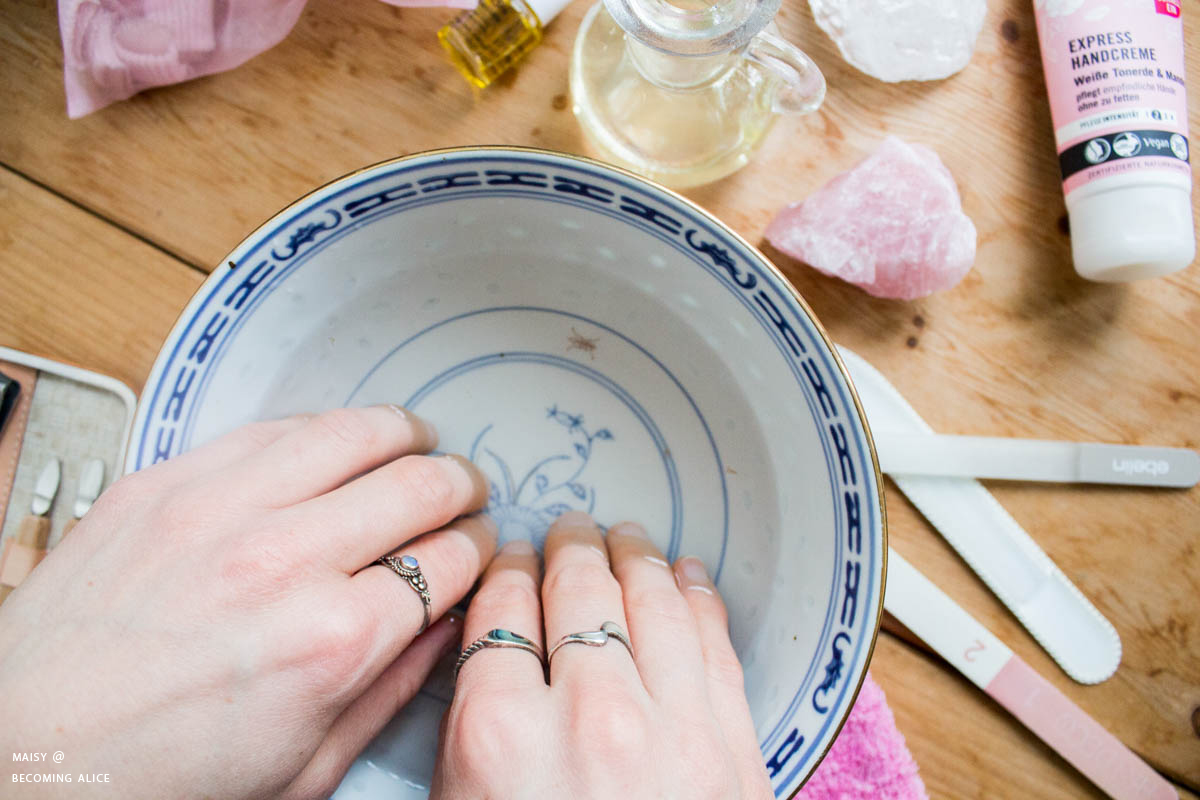
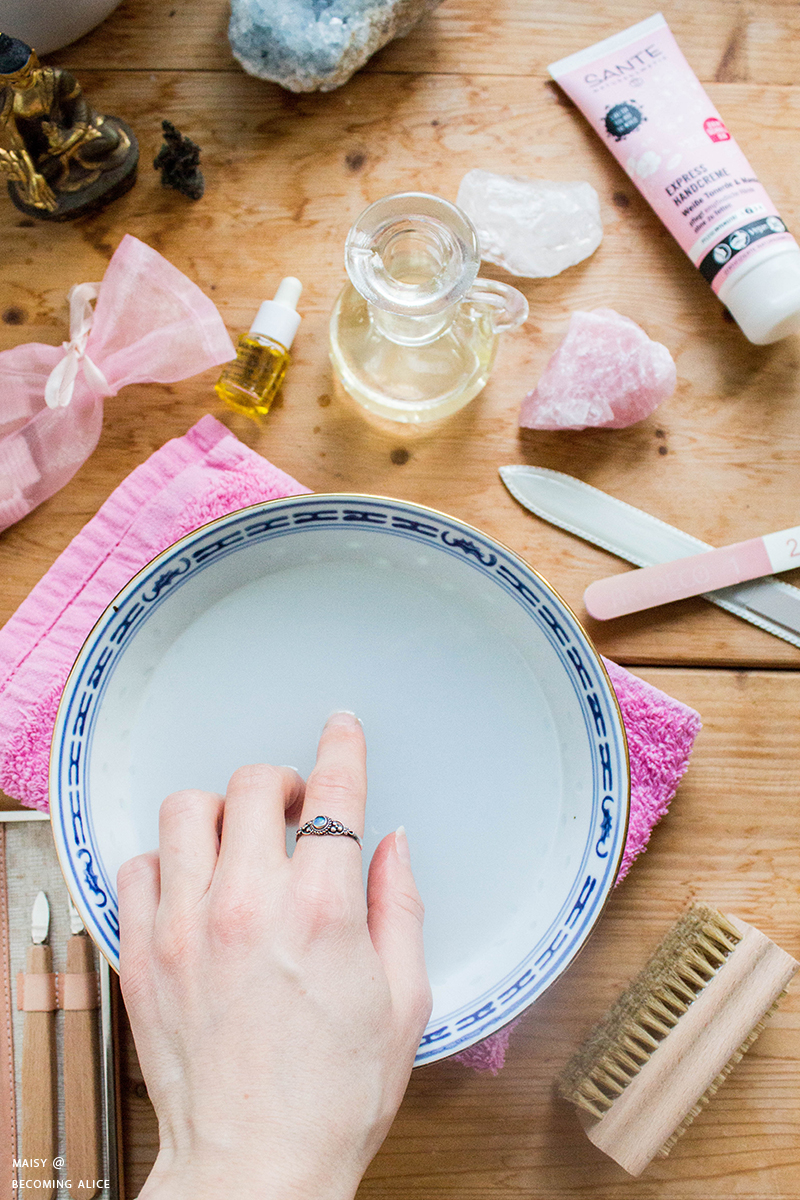
4. Soften Cuticles
To soften your cuticles and replenish dry skin, place your hands in a small bowl with warm water (not too hot) and 1 to 2 tsp of apple cider vinegar. Allow to soak for 2 to 3 minutes, then pat dry with a small towel. If you have sensitive skin, omit the ACV.
If your skin or nails are especially dry or rough, add a bit of almond oil or raw honey, or about 1/4 cup of coconut milk or almond milk to the warm water. This will help to further soften your nails.
You may even want to add about 5 drops of essential oils to the bowl, for example calming and cleansing lavender EO, anti-bacterial tea tree EO, or antioxidant lemon EO.
5. Push Back Cuticles
Using the rough surface of your towel, a q-tip or an actual cuticle stick, gently push the cuticle back away from the nail to lift from the nail plate. Be careful not to damage your cuticle. Don't forget to clean underneath your nails as well to remove any debris and dirt.
Again, some people recommend nipping off the free edge of the cuticle, but I personally stay away from that as I don't want to damage my skin and risk an infection.
Read more on that here: The Danger of Cutting your Cuticles.

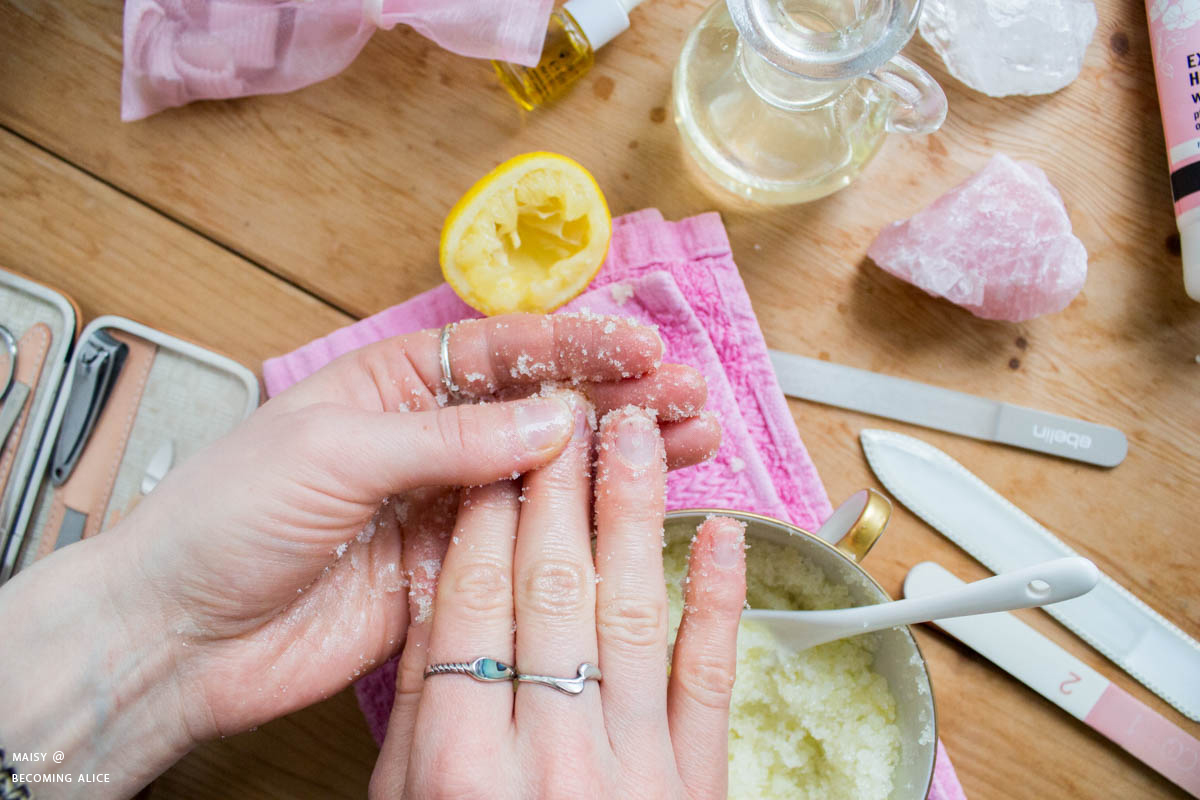
6. Exfoliate Your Hands
If you don't have a body scrub at home, mix 1/2 cup of sugar with 1 tbsp of oil (such as olive oil or melted coconut oil) to make an easy and natural DIY sugar scrub. Add up to 1 tbsp of lemon juice to brighten and strengthen your nails – this also acts as a natural antibacterial and cleanser. You can also add a few drops of essential oil, such as lavender or lemon.
Apply the mixture to your hands and gently rub into your hands and nails to remove any dead skin from filing and pushing back the cuticles. Rinse well with warm water after several minutes.
For an even easier scrub, take a fresh lemon wedge and dip the flesh side into some caster sugar (or baking soda if your hands are super chapped). Rub all over your nails and hands in circular motions, then rinse off.
This will make your hands wonderfully smooth and soft, and any products you apply afterwards are absorbed better.
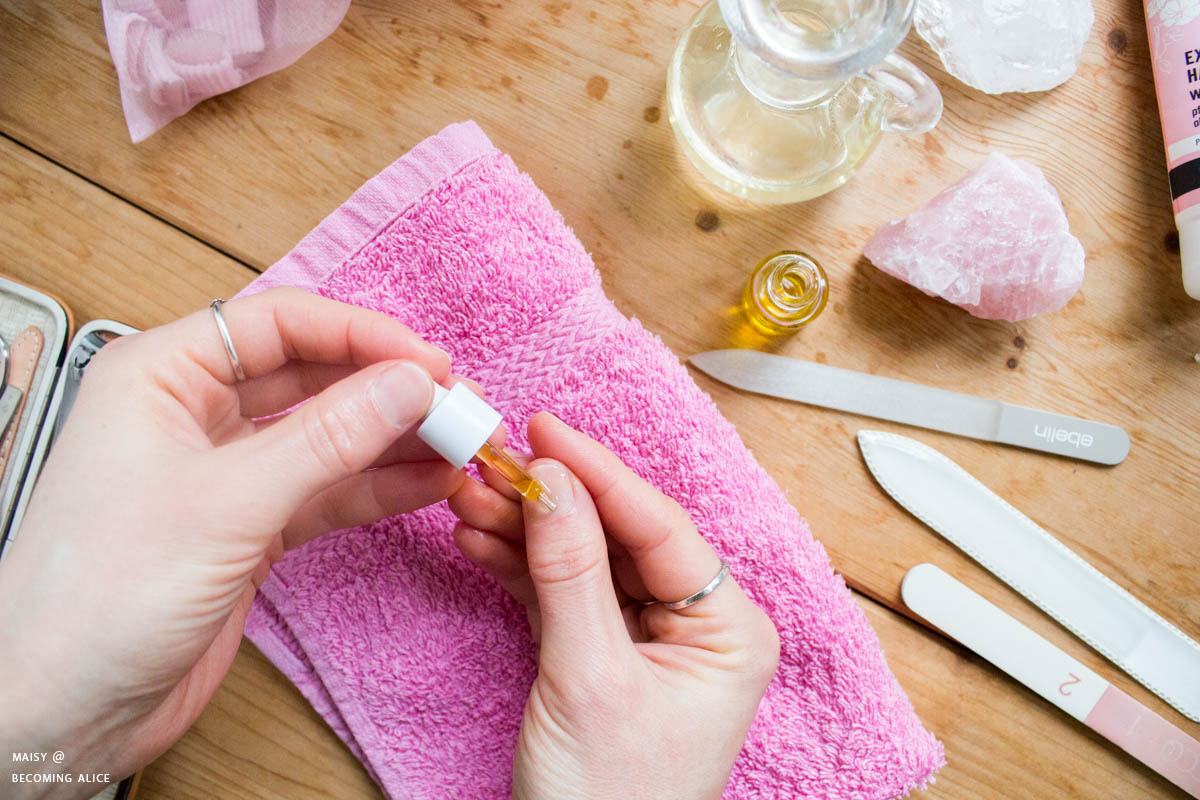
7. Moisturise Your Hands and Cuticles
For an even easier scrub, take a fresh lemon wedge and dip the flesh side into some caster sugar (or baking soda if your hands are super chapped). Rub all over your nails and hands in circular motions, then rinse off.
This will make your hands wonderfully smooth and soft, and any products you apply afterwards are absorbed better.
7. Moisturise Your Hands and Cuticles
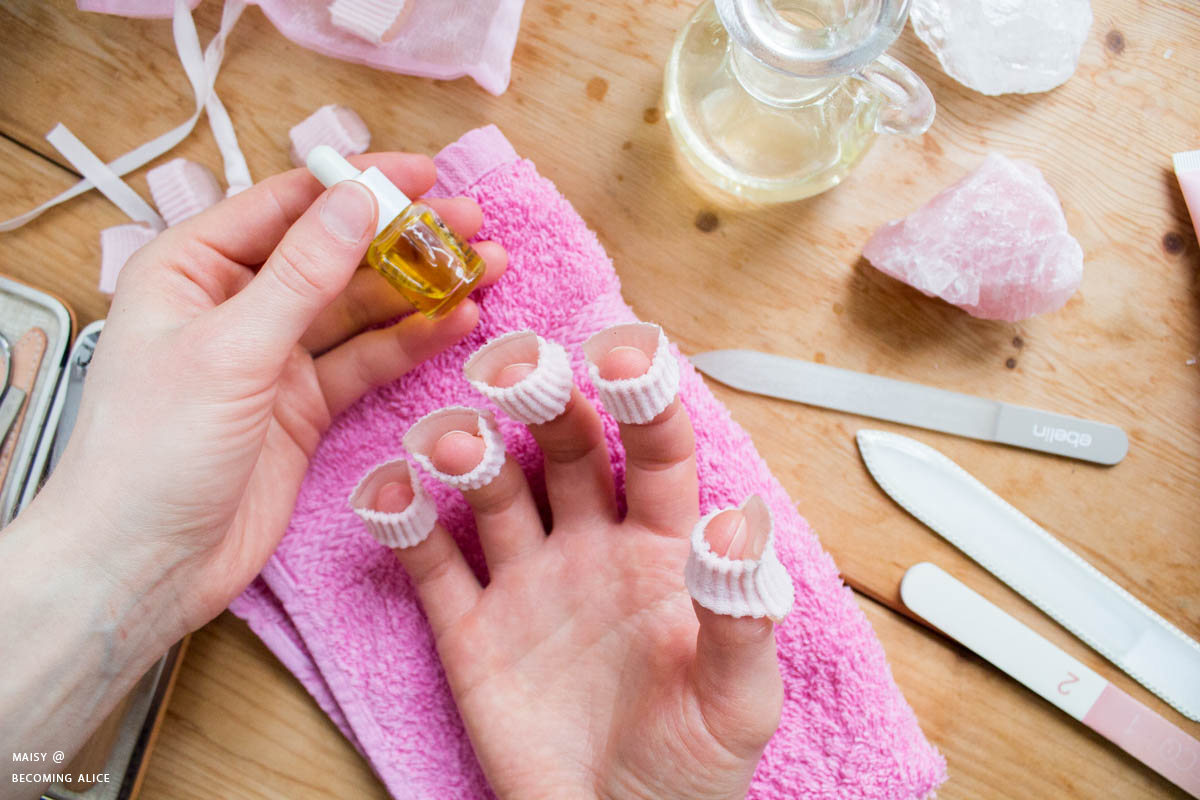
To finish off your at-home manicure, moisturise your newly-softened hands. Massage a few drops of oil into your cuticles and nail beds in circular motions. I recommend using organic jojoba oil, sweet almond oil, olive oil, coconut oil, or shea butter for this. To further intensify the moisturizing effect of the oil, I have these funny little "gloves" for my fingertips that are lined with rubber so that the oil stays on your nails and is basically sealed in. They are definitely not mandatory, though, and I'm not even sure what they're called and if they still exist nowadays, lol!
It's worth oiling your nails every night before going to bed. Not only will this keep your cuticles soft and hydrated, it also prevents them from drying and splitting, and improves overall health and appearance of your nails.
If you want to nourish your hands even more, slather on a rich hand cream or body lotion all over your hands to hydrate and replenish the skin. I really love my organic hand lotion by Sante that is made with almond oil and white kaolin clay and that absorbs extra quickly.
While you're at it, take this opportunity to give yourself a nice loving hand massage! Perhaps you might even like to look into the pressure points of hand reflexology. I find this stuff fascinating :)
While massaging your hands, you may want to send them some gratitude – yes, you heard me right! Show your hands some appreciation. Your hands to so much for you. Honestly, think of all the things that your hands help you do each and every day. They really do deserve to be taken care of 🙏🏼
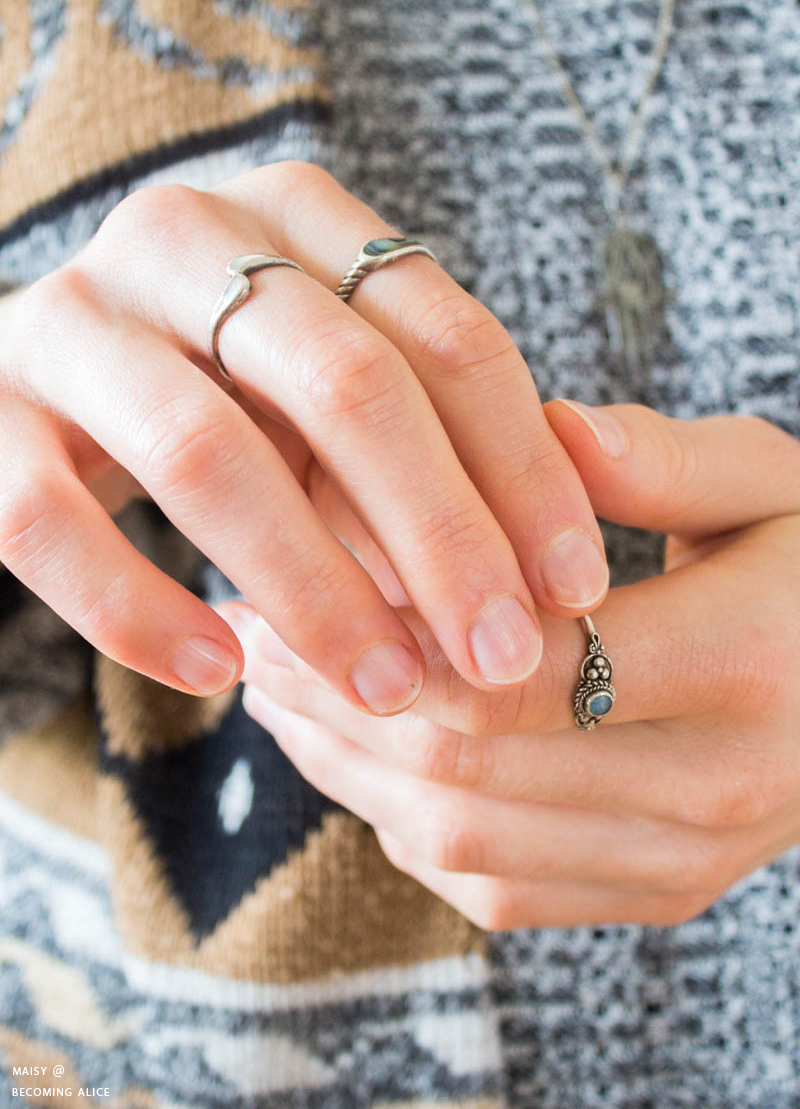
And there you have it! You just gave yourself a great manicure!
featuring *happy nails*
Now if you like, you can proceed to either apply new nail polish, or – what I would recommend – give your nails a break. Allow them to be in their natural state and regenerate. This also helps to prevent and lighten discoloured nails as a result from using nail polish all the time.
Personally, I keep my nails polish-free 99 % of the time, and if I do paint my nails, I stick to a clear, pale pink or nude nail polish.
If you are someone who loves wearing nail polish all the time though, perhaps use your vacation – or stay-cation – to abstain from any nail polish, and let your finger nails and toe nails enjoy the sandy beach and the water, and just breathe. If you aren't going on vacation, but still want to give your nails a break, you can just pretend you're in the ocean by soaking your nails in warm water mixed with epsom salt or sea salt for 10-15 minutes 😁
I hope you enjoyed my easy at-home manicure!
It's worth oiling your nails every night before going to bed. Not only will this keep your cuticles soft and hydrated, it also prevents them from drying and splitting, and improves overall health and appearance of your nails.
If you want to nourish your hands even more, slather on a rich hand cream or body lotion all over your hands to hydrate and replenish the skin. I really love my organic hand lotion by Sante that is made with almond oil and white kaolin clay and that absorbs extra quickly.
While you're at it, take this opportunity to give yourself a nice loving hand massage! Perhaps you might even like to look into the pressure points of hand reflexology. I find this stuff fascinating :)
While massaging your hands, you may want to send them some gratitude – yes, you heard me right! Show your hands some appreciation. Your hands to so much for you. Honestly, think of all the things that your hands help you do each and every day. They really do deserve to be taken care of 🙏🏼
And there you have it! You just gave yourself a great manicure!
featuring *happy nails*
Now if you like, you can proceed to either apply new nail polish, or – what I would recommend – give your nails a break. Allow them to be in their natural state and regenerate. This also helps to prevent and lighten discoloured nails as a result from using nail polish all the time.
Personally, I keep my nails polish-free 99 % of the time, and if I do paint my nails, I stick to a clear, pale pink or nude nail polish.
If you are someone who loves wearing nail polish all the time though, perhaps use your vacation – or stay-cation – to abstain from any nail polish, and let your finger nails and toe nails enjoy the sandy beach and the water, and just breathe. If you aren't going on vacation, but still want to give your nails a break, you can just pretend you're in the ocean by soaking your nails in warm water mixed with epsom salt or sea salt for 10-15 minutes 😁
I hope you enjoyed my easy at-home manicure!


 |
| DIY Chocolate Mocha Body Scrub |
♥
Maisy


0 Comments