reading time: 13 min

Happy Samhain everyone!
Everyone loves chocolate, right? But what if I tell you that there is more, way more to cacao than the simple joy of dying a slow and sweet death by chocolate?
Everyone loves chocolate, right? But what if I tell you that there is more, way more to cacao than the simple joy of dying a slow and sweet death by chocolate?
Cacao is a powerful medicine plant and healing substance that is able to uplift and energize, and help to create feelings of pleasure and emotional intimacy. While it does not take you on a trip like a psychedelic dies, a high dose of raw cacao can create a "warm, fuzzy feeling" due to the anandamide (named after ananda, the Sanskrit word for "bliss"), theobromine, caffeine and tryptophan which have a stimulating, sociable effect. This is why in rituals, cacao is used to help people connect. (source)
A feminine energy, the Cacao goddess Ixcacao, was worshipped and called upon to help the drinker deepen into the essence of their heart. Often facilitating profound spiritual journeys, she was a reminder to the people of their inherent connection to the earth. Bitter in taste, rough and earthy in texture, and grounding in its effect, cacao reminds us of our innate connection to the earth and her fertile soil.
Due to the feminine energy present in cacao, it is very receptive so whatever good intentions you put into it, it takes it in, and the one who drinks it receives this energy.
What is a Cacao Ceremony?
Ceremonial grade cacao and the sacred ritual of a cacao ceremony to unlock euphoric and even ecstatic states, release negative emotions, and connect to pure heart energy has been used by ancient Aztec and Maya civilisations for thousands of years. While the Aztecs reserved their sacred cacao for priests and other high-status men to offer to the gods, the Mayan people used the potent drink as part of their everyday life, and in particular during special occasions such as betrothal and marriage ceremonies as well as other community-based rituals.
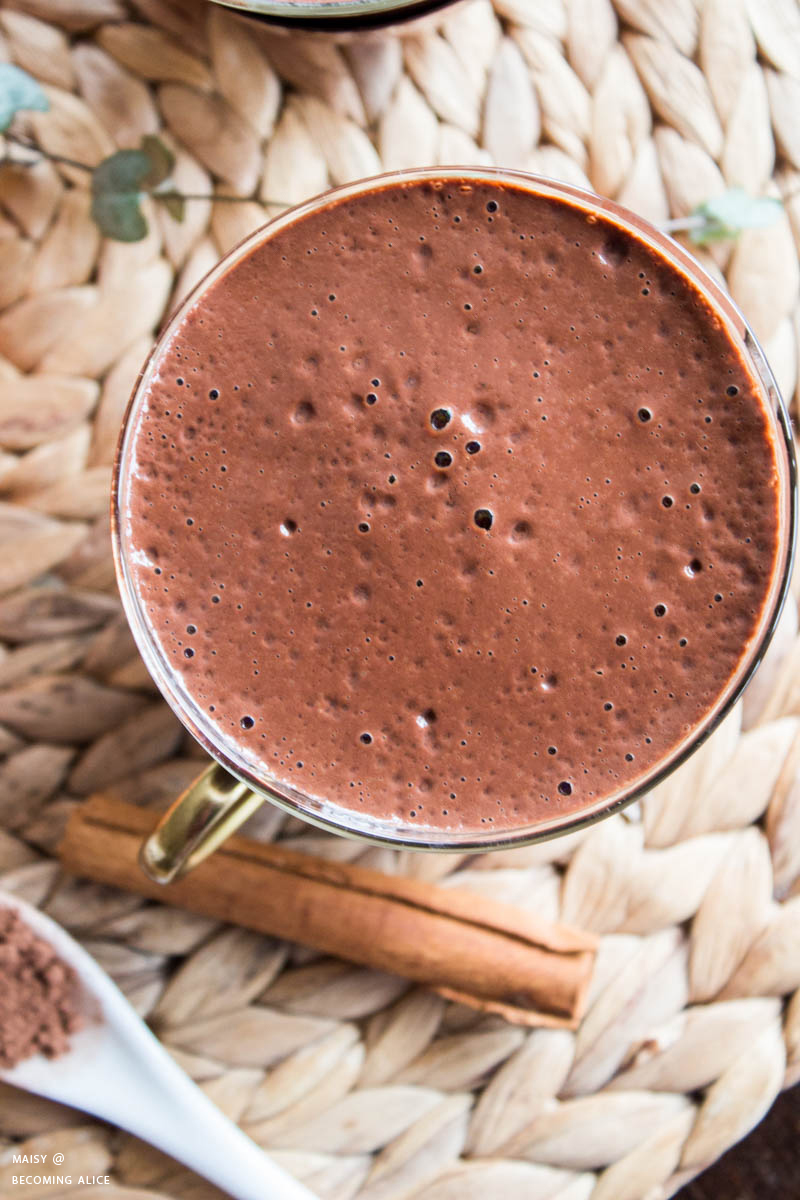
A cacao ceremony is when ceremonial grade cacao – which is very different from your regular cup of cocoa or hot chocolate – is consumed with mindfulness and intention as a Sacred Hot Chocolate. Cacao ceremonies can be done either alone – to connect deeply to yourself and harness your inner power – or in company – to allow for open communication and connectedness.
Cocoa powder (pronounced "coco") has been roasted for long periods of time at high temperatures, which changed the molecular structure of the bean, lowering its naturally abundant nutritional value. Cacao powder (pronounced "cacaow") may be organic, raw and a superfood, but is also highly processed. The bean's natural fat – the cacao butter – is removed, which means that many living enzymes, healthy fat, fibre, and most of the subtle energetic properties of cacao have been destroyed. It can be overstimulating to your nervous system and taxing on the liver. Ceremonial grade cacao, however, is made by fermenting and lightly toasting or sun-drying the beans, then hand peeling the husks followed by stone grinding creating to a paste which is then set into a block – nothing added and nothing removed. The bean's fat remains intact which helps in the absorption of its nutrients over a long period of time. (source)
Raw cacao is a natural aphrodisiac and mood enhancer, rich in antioxidants and nutrients. It is known to improve memory, reduce heart disease, help you shed fat, and boost immunity. On an energetic level, it also increases feelings of bliss and love, comfort and excitement, as it builds energy.
Ceremonial cacao can be used for deep healing and transformation, especially for love, partnership, connection, and sexuality.
My Experience with Cacao Ceremonies
I first learned about the existence of cacao ceremonies from this video by Caro Arevalo which was very inspiring and informative, so go check that out if you are interested.
So far I have done this cacao ceremony three times: once on my own and twice with my fiancé J, which were all very impactful and very different from one another. The first time (which was with J., and only using the beginner's dose, pure) I could really feel the energizing effect of the caffeine-containing cacao which gave me a sort of "high" that made me feel both connected and giddy, almost euphoric, similar to coffee but without the jittery body-state. (By the way, I love the "couples cacao ceremony" that Romany & Eduardo brought into being! Such a lovely relationship ritual.)
My second ceremony (which was on my own on the night before my birthday, and using the ceremonial dose, still without any additives)
was entirely "high"-free, but instead lead me to open up emotionally and
weep for almost half an hour, which was incredibly freeing and healing.
The third time – on a full moon, and using the ceremonial dose again, but this time with lots of spices and dates to sweeten – I felt quite "normal", only slightly more calm and blissful. Who would have thought!
I want to incorporate holding a cacao ceremony on several special occasions each year, such as my birthday, New Year, J and I's wedding, as well as some of the Wiccan festivals, or even just on full moons. If you are working in the creative field, having a cup of cacao right before working on your projects can be incredibly energizing, spark your inspiration and ignite your creativity.
In the future I would also love to do this cacao ceremony with a small group of women one day – kind of like a witchy women's circle. I can imagine this concentrated female energy to be very powerful and healing in its own way.

The Benefits of a Cacao Ceremony
- it acts as a heart-opener
- it aids with releasing old emotional blockages
- it helps to release negative emotions and negative self-talk
- it re-connects you with others
- it helps re-connect yourself and with your creative energy
- it enhances your own intuition and inner sense of knowing
- it enables access to stuck emotions, conditionings, patterns of behaviour and addictions
- it expands your capacity to love and be loved
- it enhances focus, clarity and mental agility
- it helps you discover and explore your purpose in life
- it acts as a tool for visualization and manifestation
- it relaxes, regenerates and rebalances
The Recipe
Ingredients for 1 serving:
- organic raw ceremonial grade cacao *, chopped into small pieces, either the meditation dose (25g) or the ceremonial dose (up to 42g) – if this is your first time doing a cacao ceremony, use 25 grams!
- 250 ml of hot, but not boiling water and/or plant-based milk (I recommend almond milk, barista oat milk, or coconut milk; in my opinion half water and half plant milk is ideal)
- an optional sweetener: dates, raw honey, coconut blossom sugar, or maple syrup
- optional spices or superfoods: a pinch of chilli powder or cayenne pepper, Himalayan salt, cardamom, cinnamon, nutmeg, maca, reishi, chaga, turmeric, vanilla, rose nectar, lavender, rosemary, ginger, orange peel, coconut oil ...
- optional spices or superfoods: a pinch of chilli powder or cayenne pepper, Himalayan salt, cardamom, cinnamon, nutmeg, maca, reishi, chaga, turmeric, vanilla, rose nectar, lavender, rosemary, ginger, orange peel, coconut oil ...
* this is not the same as regular cacao or even cocoa! Make sure it says 100% ceremonial grade cacao on the packaging. Ceremonial cacao can come as a paste, powder or discs.
Directions:
Cut your desired amount of cacao into small pieces with a sharp knife. As
mentioned above, the amount of cacao per serving should be somewhere
between 10 and 42 grams. 20 to 25 grams are great for meditation or for
everyday life. Anything over 25 and up to 42 grams is considered a
ceremonial dose, which is used for in-depth spiritual practice. If this is your first time doing a cacao ceremony (or if you're drinking this daily) make sure you use only 20 to 25 grams!
Rather than heating up the liquid and pouring it over the cacao, enjoy the process of stirring (or even better: whisking) the pot and make an effort to connect with every element of the process. Move mindfully, handle your utensils with care, smell the cacao and all the other scents in your kitchen ...
Perhaps even "bless" your beverage while gently heating up the cacao chunks in a small cooking pot along with your water or plant-based milk, or light a candle to open the ritual.
Keep stirring / whisking on low heat, making sure it never boils. You'll want the cacao to melt, not boil, as we don't want to burn the cacao and destroy its valuable healing ingredients. A temperature around 42 °C up to 50 °C is perfect. If you can still stick your finger inside, you're golden 😁
While the cacao heats up, you can begin the ritual by singing, dancing, chanting or tuning into that open-minded, open-hearted energy. If you like, think about your intention as you stir the cacao to infuse it into the drink.
When all cacao chunks are melted and the consistency is creamy, turn off the stove. Feel free to add anything your heart desires – for me, chai spices are a wonderful addition to this beverage. Make sure to only use high-quality ingredients that you love!
To make iced cacao, combine shaved or chopped ceremonial cacao, 200 ml chilled plant-based milk, sweetener and spices of choice, and a generous handful of ice cubes in a high-speed blender. Blend until smooth.
To make iced cacao, combine shaved or chopped ceremonial cacao, 200 ml chilled plant-based milk, sweetener and spices of choice, and a generous handful of ice cubes in a high-speed blender. Blend until smooth.
NOTE:
- Avoid caffeine on the day of the ceremony
- Don't drink alcohol on the day of the ceremony
- Don't eat meat on the day of the ceremony
- Don't add cows milk into the cacao because dairy products dampen the effect of the cacao
- It's best to follow a fairly simple and alkaline focused diet the day before, and on the day of the ceremony
- If you're really into it, you should not eat anything 3 to 4 hours prior to the ceremony
- Since cacao is a powerful stimulant, it's best not to do this ceremony after 7 pm, or within 4 hours of bedtime
- Since cacao is a powerful stimulant, it's best not to do this ceremony after 7 pm, or within 4 hours of bedtime
- Make sure you drink enough fresh water before and after the ceremony (also have some at hand during the ceremony), as the cacao is very bitter and slightly dehydrating

How Does It Work?
Now that you've prepared your beverage, it is time for the actual cacao ceremony. You can either do it by yourself, in the comfort of your own home or outside in nature (perhaps under a tree or by a stream), and enjoy the silent dialogue with your (Higher) self – or you can do it with a group of people you trust. If you are doing the ceremony as a couple, sit facing each other; if you are doing this as a group, it's best to sit in a circle to support and empower one another during the following ceremony.
Either way you'll want to choose a place where you are undisturbed and feel comfortable and safe, perhaps your meditation corner or a quiet spot under a tree.
If you like, you can also put up an altar with objects that are important and a source of inspiration to you – such as pictures, crystals, plants ... Perhaps light some candles, place some greenery or flowers, burn incense, or smudge the space with sage or palo santo to remove negative energies and impurities. Maybe play some soothing music, if you feel like it (for example this shamanic playlist).
Sit on a chair or cushion in a comfortable pose, such as with your legs crossed and a straight spine, and with both hands lift up the cacao to the centre of your chest, where your heart chakra is located. Close your eyes and inhale the scent of the cacao. What are your intentions for this ceremony? Do you want to connect with your higher self or a certain person in your life? Release negative thought patterns? Or gain clarity or confidence? Are you looking for a solution to a problem, or trying to let go of something from your past? Do you want to feel more abundance? Do you want to follow your intuition more?
Whatever it is, set your intentions – either mentally or out loud – and "ask the cacao" to assist you in this process.
If that up your alley, you can imagine the mug of cacao being filled with golden light, or with a sacred nectar perhaps. Feel the energetic power of this beverage. It is pure light, positive energy, fluid medicine.
Then slowly start to drink the cacao – still imagining it to flow through your torso and into your belly like golden flow of energy. With every sip let yourself sink deeper into a state of peacefulness.
Now just be, and see what happens. Notice what thoughts, images and feelings come up. All you have to do now is to stay connected to your body by breathing deeply and fully and always bringing yourself back to the present moment. This ceremony is basically a meditation.
Allow all body sensations to rise up. And if you don't notice anything, that's okay too. Trust the process.
And if you like, you might start to hum or sing something, following your intuition and imagination. Perhaps play a singing bowl. Do some breathing exercises, such as pranayama. Pick an oracle card. Paint. Or move and dance, activating the cacao within your body and heart. Whatever connects you to your innermost power, and to your heart.
Take as much time as you need. Opening up your heart chakra is powerful, but can also be painful, so be gentle and patient with yourself. Give yourself space to reflect and self-commune. Maybe you'll even want to journal during or after the ceremony. If you are doing this as a group, hold space for each other to open up and speak from your hearts. Listen. A great way to start a heart-to-heart conversation going is to share what each of you is grateful for, express your intention for that day, or complement each other.
Take as much time as you need. Opening up your heart chakra is powerful, but can also be painful, so be gentle and patient with yourself. Give yourself space to reflect and self-commune. Maybe you'll even want to journal during or after the ceremony. If you are doing this as a group, hold space for each other to open up and speak from your hearts. Listen. A great way to start a heart-to-heart conversation going is to share what each of you is grateful for, express your intention for that day, or complement each other.
Traditionally, cocoa ceremonies last about 3 to 6 hours to allow for in-depth spiritual work. However, if you are doing this at home by yourself I would recommend to spend at least 15 minutes, ideally 30 minutes to 1 hour with this process.
Close the ceremony by having a quiet moment of giving thanks or a short prayer. If you are holding the ceremony in company, take a deep collective breath, and perhaps give each other a hug.
If possible, arrange a quiet, gentle afternoon or evening for after the ceremony, as symptoms of physical and emotional detoxification can arise unique to each individual.
If possible, arrange a quiet, gentle afternoon or evening for after the ceremony, as symptoms of physical and emotional detoxification can arise unique to each individual.
If that's not possible, don't worry. You can continue your day as you would normally, just take it easy and see how this ceremony transforms the way you perceive your everyday life, perhaps bringing more inner peace, fulfilment, joy, focus and a sense of light-heartedness to it 🙏🏻❤️
Don't forget to drink plenty of water at the end of the ceremony to avoid dehydration.
How Often Should You Do a Cacao Ceremony?
In general, you can do a cacao ceremony whenever you feel the need for it. Due to the powerful healing and euphoriant effect of the cacao, I would suggest consuming no more than 25 g of cacao per day.
There are no set rules as to when a cacao ceremony should take place. Use ceremonial cacao if you are feeling confused, blocked, upset or out of touch with yourself. Use it as a heart opener to peacefully and compassionately communicate with your partner.
Great times to do a cacao ceremony are during a full moon or a new moon, or during the four seasonal transitions: spring equinox, summer solstice, fall equinox, and winter solstice. A new moon cacao ceremony is wonderful to set intentions for things you want to manifest. A full moon ceremony helps you delve deeper into yourself and reflect on what you are "harvesting" in your lives right now.
Contraindications for the Cacao Ceremony
Because of the potency of the ceremonial grade cacao, and the amount consumed in the ceremonial dose, there are a couple of contraindications to be aware of:
- Prescription anti-depressants: Those that use MAO inhibitors to treat depression are contraindicated with chocolate. Check your meds to see if this is the case. These tend to be less common nowadays.
- Serious heart conditions: Cacao increases
heart rate and is a vasodilator, so be careful if you have a serious
heart condition.
- Pregnant or breastfeeding: Go with a lower dose as cacao is a stimulant.
- Pregnant or breastfeeding: Go with a lower dose as cacao is a stimulant.
Where to Get Ceremonial Grade Cacao
There are probably many more suppliers of ceremonial grade cacao, but this is what I found through my research:
United States: Cacao Laboratory
Central America: Keith's Cacao
Australia: The Cacao Club
United Kingdom: Ritual Cacao
Australia: The Cacao Club
United Kingdom: Ritual Cacao
Germany: Heart Solution (the one I've been using is this organic Peruvian one from Papa Inti, but it is currently sold out, and I want to try the one from Heart Solution next time)
International 100 % Maya owned, all indigenous women's collective: Ruk'u'x'Ulew
International 100 % Maya owned, all indigenous women's collective: Ruk'u'x'Ulew

If you don't mind sharing, I would love to hear about your experiences with cacao 🙂
♥
Maisy


)
)