reading time: 3 min
Last year I shared my vegan recipe for Mrs. Weasley's Christmas fudge which turned out super good and chocolatey – however, the recipe was more on the side of American fudge, since it contains chocolate, rather than British fudge, which is just caramel-flavoured and chewier (I think? although some source say it's more flaky than the American version?).
Either way, for this butterbeer version, I went with the more caramel-y, creamy (British?) approach. I built my recipe around this recipe for dairy-free butterscotch chips by Go Dairy Free, which I basically "diluted" with coconut milk to make butterbeer fudge.
 |
| Ron is amazed by my fudge-making skills. (source) |
Fun fact: I had planned to published this recipe on the 30th of October a while ago, and only recently found out that Molly Weasley née Prewett was actually born on October 30 in either 1949 or 1950! How fitting! (During the same research I also found out that her husband, Arthur Weasley, shares his birthday with my Dad: February 6! Coincidence? I don't think so 😂 This is definitely proof that I'm a member of the Weasley family.)
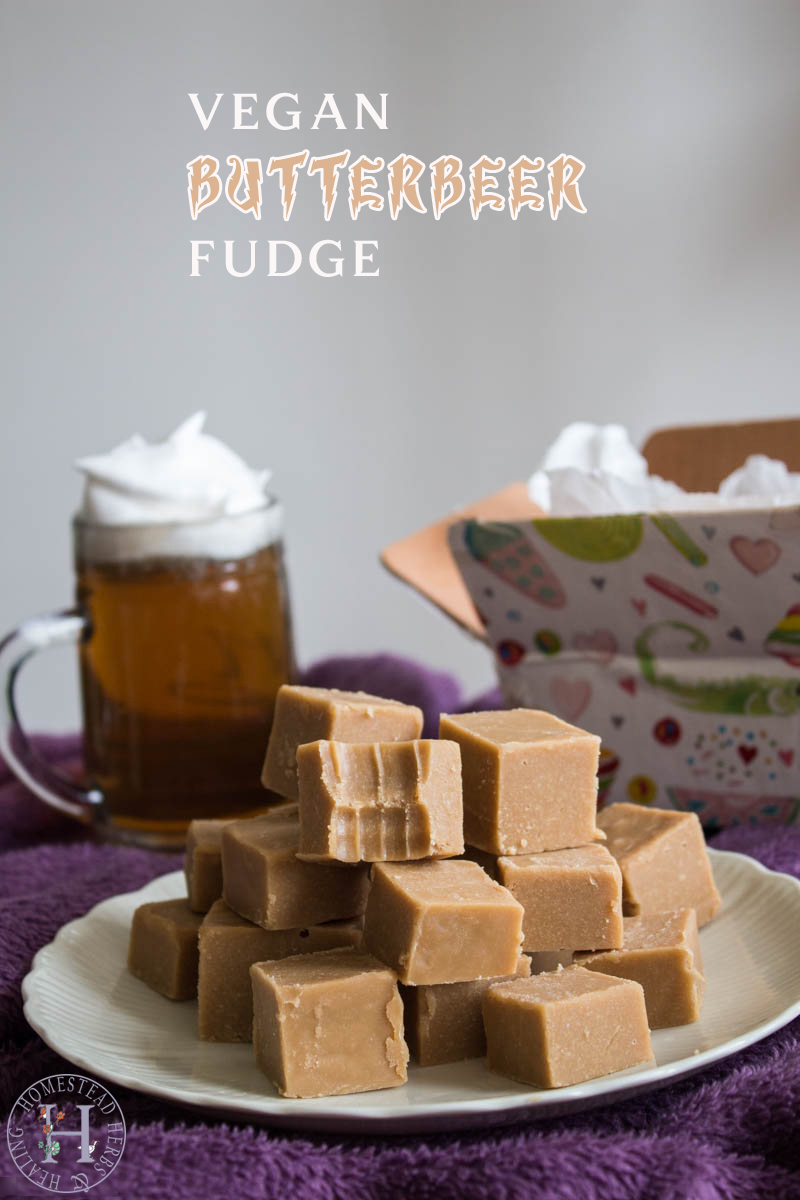
Anyway, enough with the preliminary skirmishing – let's make this vegan butterbeer fudge that is
smooth
buttery
caramel-y
rich
melt-in-your-mouth-creamy
silky sweet
decadently delicious
Anyway, enough with the preliminary skirmishing – let's make this vegan butterbeer fudge that is
smooth
buttery
caramel-y
rich
melt-in-your-mouth-creamy
silky sweet
decadently delicious
and free from any animal-derived products!


Preparation time: 1 hour 45 mins (+ 3–4 hours cooling time)
Main ingredients: coconut milk, sugar, vegan butter
difficulty level: easy-moderate
makes: 20 to 30 (one 8x8 inch pan)
suitable for: vegan, lactose-free, gluten-free, soy-free, yeast-free
VEGAN BUTTERBEER Fudge
adapted from Go Dairy FreePreparation time: 1 hour 45 mins (+ 3–4 hours cooling time)
Main ingredients: coconut milk, sugar, vegan butter
difficulty level: easy-moderate
makes: 20 to 30 (one 8x8 inch pan)
suitable for: vegan, lactose-free, gluten-free, soy-free, yeast-free
Ingredients
1 cup full-fat coconut milk
1/2 cup coconut oil
1/2 cup unsalted vegan butter (I use the German brand Alsan bio)
1 cup light brown sugar
1/2 cup brown sugar
1/2 tsp apple cider vinegar
1/4 tsp salt
1 tsp vanilla extract
(optional) a few drops of butter extract
Line an 8x8 pan with parchment paper.
Place the coconut milk, coconut oil, vegan butter, sugars, apple cider vinegar, and salt into a medium saucepan. Bring to a simmer on a medium heat, stirring continuously, until the mixture starts to boil.
Reduce the heat, and let the mixture bubble for a looong time until it reaches the "soft ball stage". (Be careful here as the mixture will be very hot!) You can determine this stage either by using a candy thermometer which will tell you when you've reached the right temperature (about 235 °F / 112 °C).
Alternatively you can test whether or not your fudge mixture is at the right stage by dropping a small portion of the mixture into a cup of cold water. If it sticks together into a nice clump and can be rolled into a very soft squashable ball that won't stick to your fingers, you know the mixture is ready.
It might take a while until you get to this stage, so be patient here.
Reduce the heat, and let the mixture bubble for a looong time until it reaches the "soft ball stage". (Be careful here as the mixture will be very hot!) You can determine this stage either by using a candy thermometer which will tell you when you've reached the right temperature (about 235 °F / 112 °C).
Alternatively you can test whether or not your fudge mixture is at the right stage by dropping a small portion of the mixture into a cup of cold water. If it sticks together into a nice clump and can be rolled into a very soft squashable ball that won't stick to your fingers, you know the mixture is ready.
*Double, double, toil and trouble,
fire burn and cauldron bubble ...*
Once you've reached soft ball stage, remove the fudge from the heat and whisk in the vanilla extract.
Beat the mixture to make sure it is well incorporated and smooth. Let cool for 5 minutes, then beat again until it reaches a thick, creamy frosting consistency and loses its glossy shine – this will take 10 to 15 minutes, so you will need to be patient and persevering!
*Just beat it, beat it ...*
Using a spatula, scrape the fudge mixture into the prepared pan and spread the fudge out evenly, pressing down slightly with the spatula.
Transfer the fudge to the refrigerator and let sit for at least 3–4 hours or overnight. I recommend also chilling it in the freezer for 30 minutes before serving.
Once set, remove the solidified fudge from the pan by lifting up on the overhanging baking paper, and place it on a cutting board.
With a sharp lightly greased knife, slice the fudge into bite-sized squares.
Enjoy!
Store fudge in an airtight container in your freezer for several months, or in your fridge for up to a week for a softer fudge.
You can also turn this homemade fudge into a wonderful gift by layering the cut squares inside a colourful box, with wax paper or parchment in between layers.


0 Comments